Building Our Tower
"Before anything else, preparation is the key to success."
~ Alexander Graham Bell
If you’ve decided that you or you and a friend want to attempt this kind of project, it really isn’t that hard. Just take the time to prep every piece completely so that your welds will be good and strong and last for years.
I did a fair amount of research into different pipe and tube that I could use. I read that if sections of pipe are used, like black iron or galvanized pipe from your local supplier, every joint where a coupling is used, is a weak spot and can actually break with strain. I agree with this. The threads that are cut into the pipe for the coupling to screw onto actually reduce the diameter of the pipe between each thread. This significantly changes the strength at these points.
I looked into “drill stem” which is a specially designed pipe for drilling water wells. This pipe has “flared” ends which are then threaded for the coupling. What this does is keep the wall thickness where the strength is needed so that it won’t break. Water wells can be really deep; some can be a thousand feet or more. Drilling a hole that deep places a lot of strain on a pipe so I figured this would be a good choice for a tower. I bought it used at one of the steel suppliers that cater to farmers and ranchers. This kept the cost of our tower a lot lower.
A note about galvanizing – if you weld anything that has been galvanized, as the coating burns it releases toxic fumes – DO NOT BREATHE THESE FUMES! If you ever need to weld something with a galvanized coating, remove as much as you can before welding and still have plenty of ventilation, which is a great idea anyway.
The Tower Components
A. 2-7/8” drill stem – 2 pieces that are 22 feet long each plus another 3' piece that I added to the top when we installed the Whisper 100 to allow the blades to clear the cables.
B. 2-7/8” drill stem – 1 piece 20 feet long for the gin pole.
C. 5/16” wire rope (steel cable). I found a spool of signal wire (galvanized) at the scrap metal yard in town. This is the cable that is used to hang stop lights over intersections. I figured this has to be really strong to allow those lights to swing around in bad winds and not come crashing down. I purchased some other really flexible galvanized cable for end pieces to loop through the signal wire and attach to the concrete piers. The signal wire is really stiff and hard to work with. This part is unorthodox and there are probably those that will say don’t do it. Cost was an issue for us and I got a really good deal on the signal wire. The tower has been up for 12 years now and there has been no issue with either cable. I do keep my cables adjusted to prevent unnecessary wearing and movement.
I found this really flexible cable at a place that supplies installation materials for modular homes.
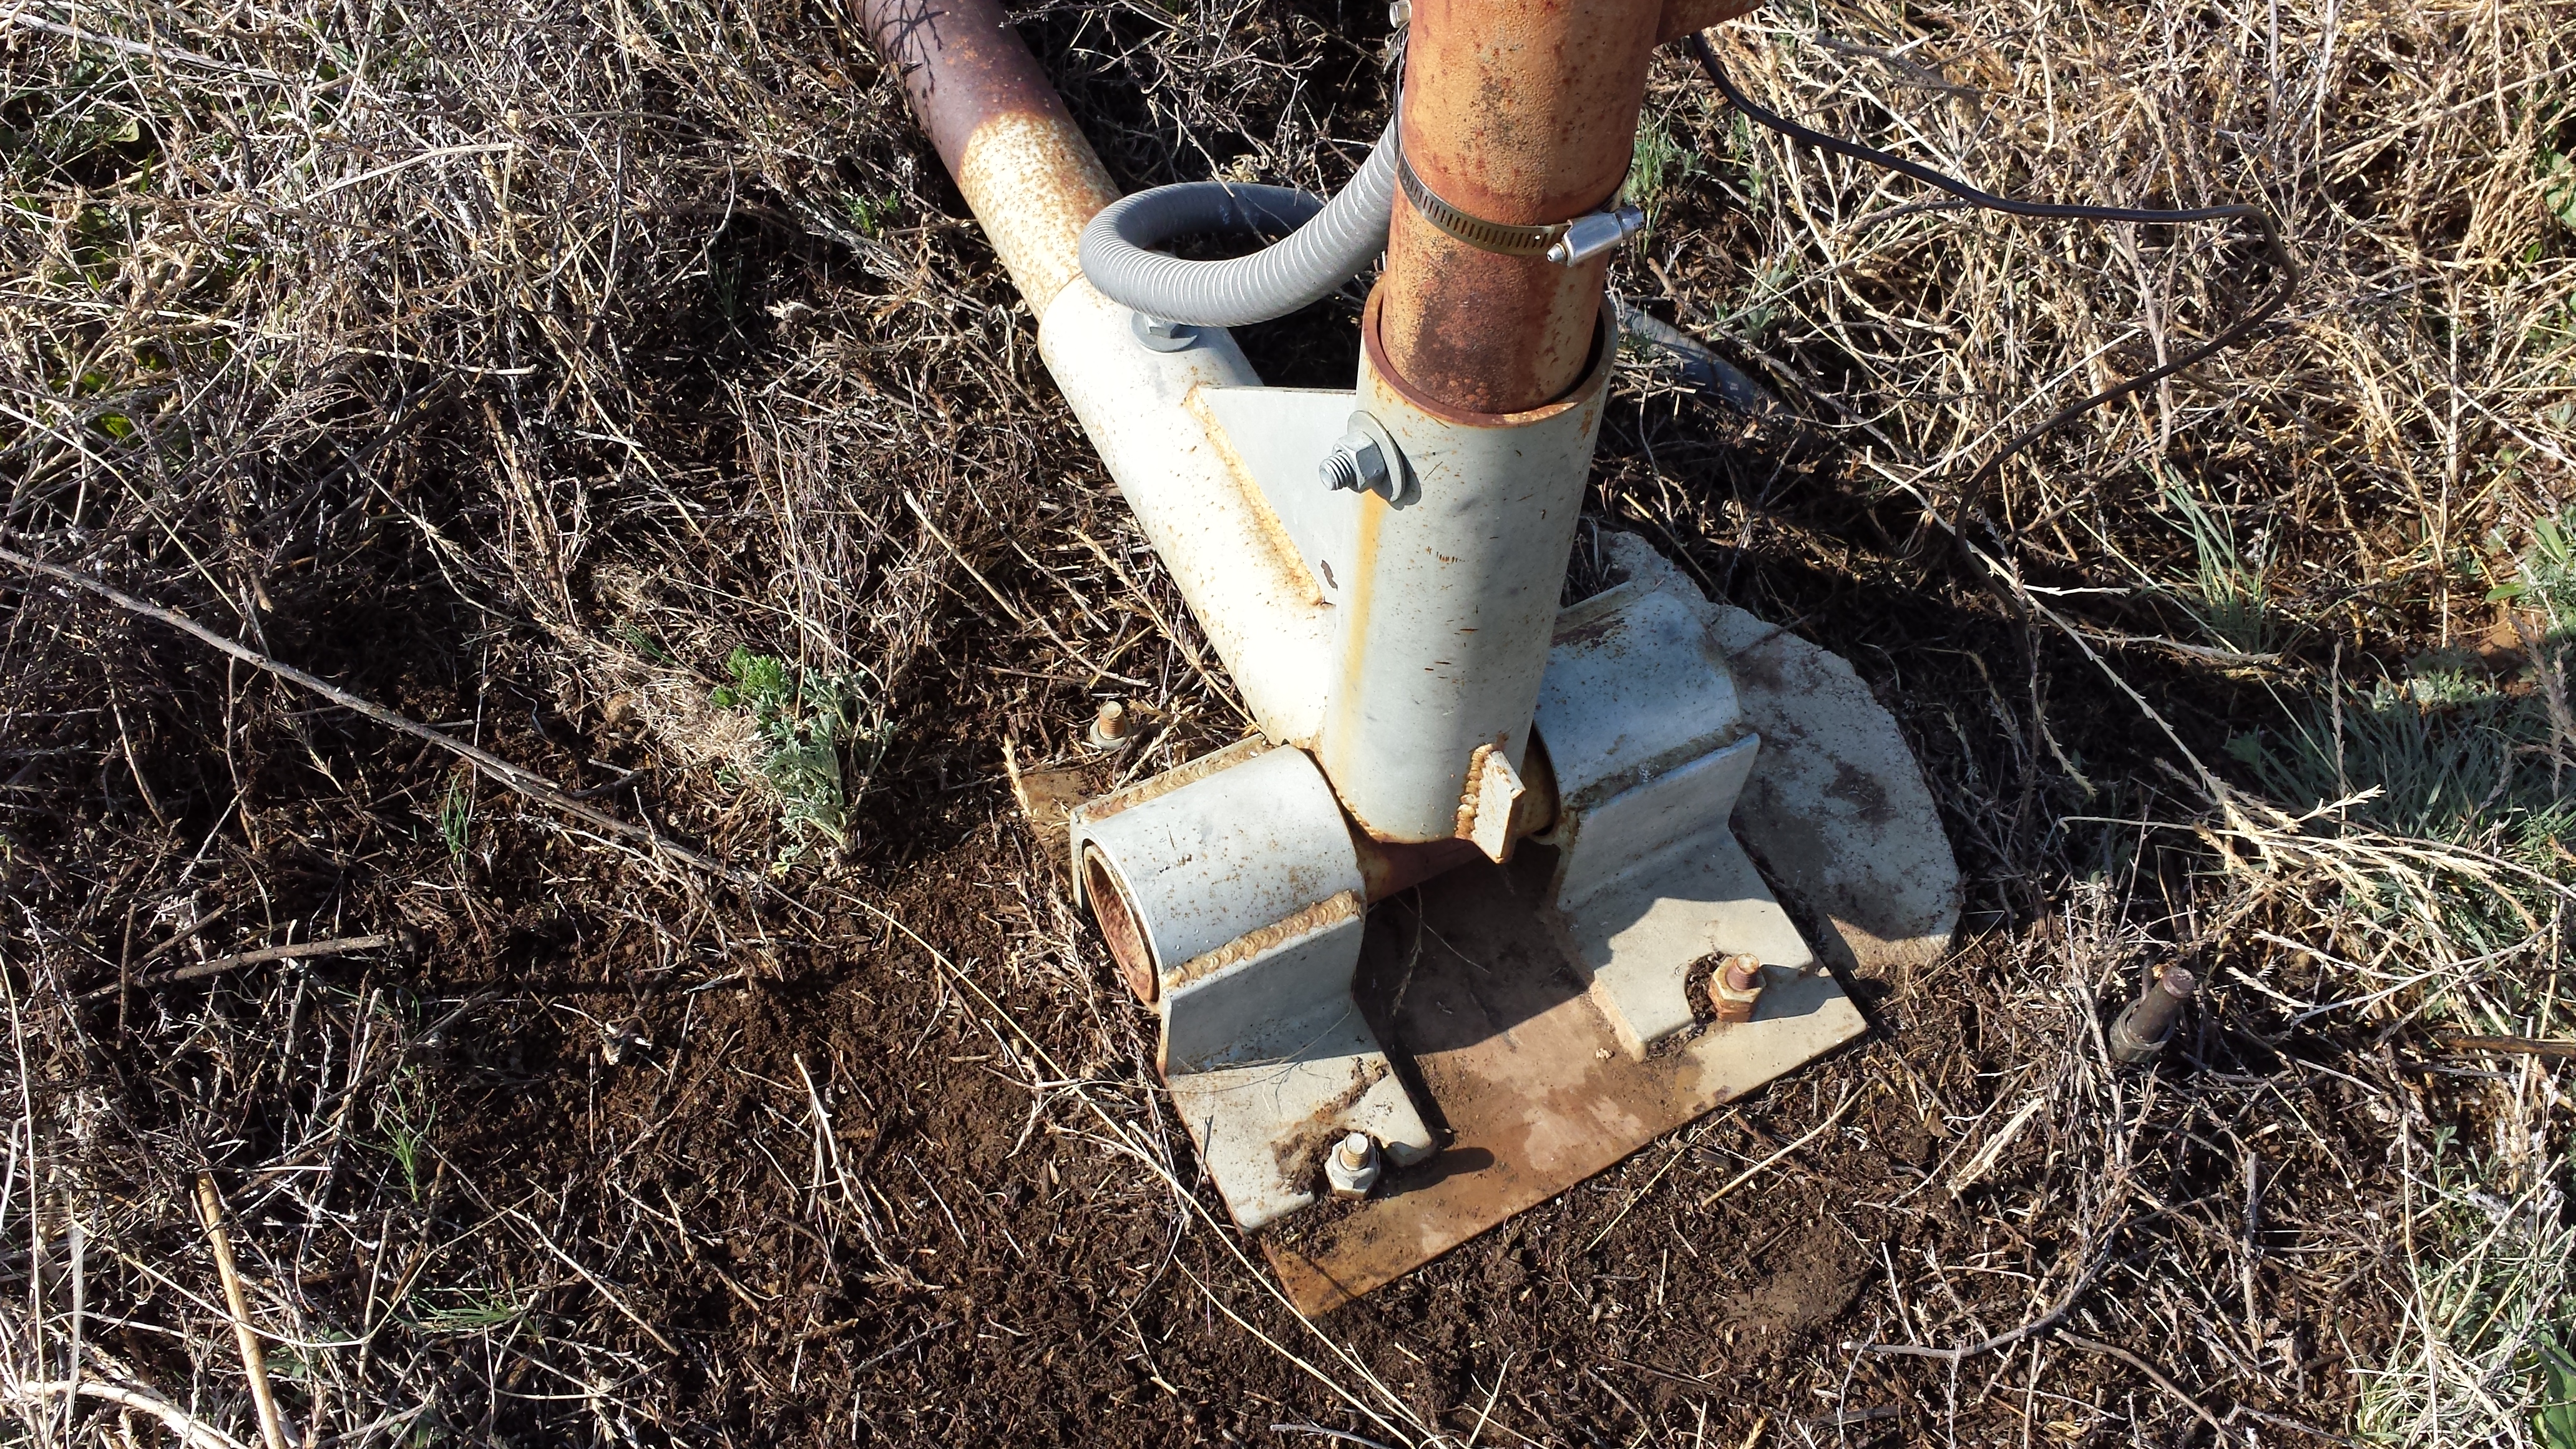
D. Base plate, 12” x 12” x ½” steel plate. I had these cut at the steel yard.
E. 4 galvanized foundation anchor bolts. 10” x ½” with nuts – for anchoring the base plate to the concrete pier.
F. Larger steel pipe for swivels and tower sleeve. The sleeve is what the drill stem tower will slide down into. This is built into the swivel section like an upside down “T”.
G. ½” x 2” x 4” flat steel bar for cable anchor points. These are welded to the pipe near the top on all 4 sides as well as roughly half the way down for the other 4 cables. These get a “half-moon” shaped opening ground into the center of each and the edges of the half-moon are heavily “eased” to prevent the cables from chafing and breaking. The easiest way to remember how a cable clamp goes on is “never saddle a dead horse”. For those of you who may be new to cable and clamps, click the link to see a short description of what this means. An old building inspector used this term and it has stuck with me ever since.
H. 8 large closed ended galvanized turnbuckles. These must have cast or welded ends, not rolled.
I. 68 galvanized cable clamps with thimbles
J. 8’ ground rod (it has been suggested that 2 rods better. I didn't use 2 since my tower is also grounded to the rebar in the concrete).
K. Ground lug for connecting the ground wire to the ground rod.
L. #4 bare copper ground wire. This will be fastened via another lug into the tower at the base and connected to the ground rod for lightning protection, (ours has been tested with actual lightning – several times!) although I’m not sure if it has been a direct hit or just really close.
M. S/O cord to connect to turbine and run down the length of the tower.
N. Lugs to make the connections in the 4 square box.
O. Super 88 electrical tape
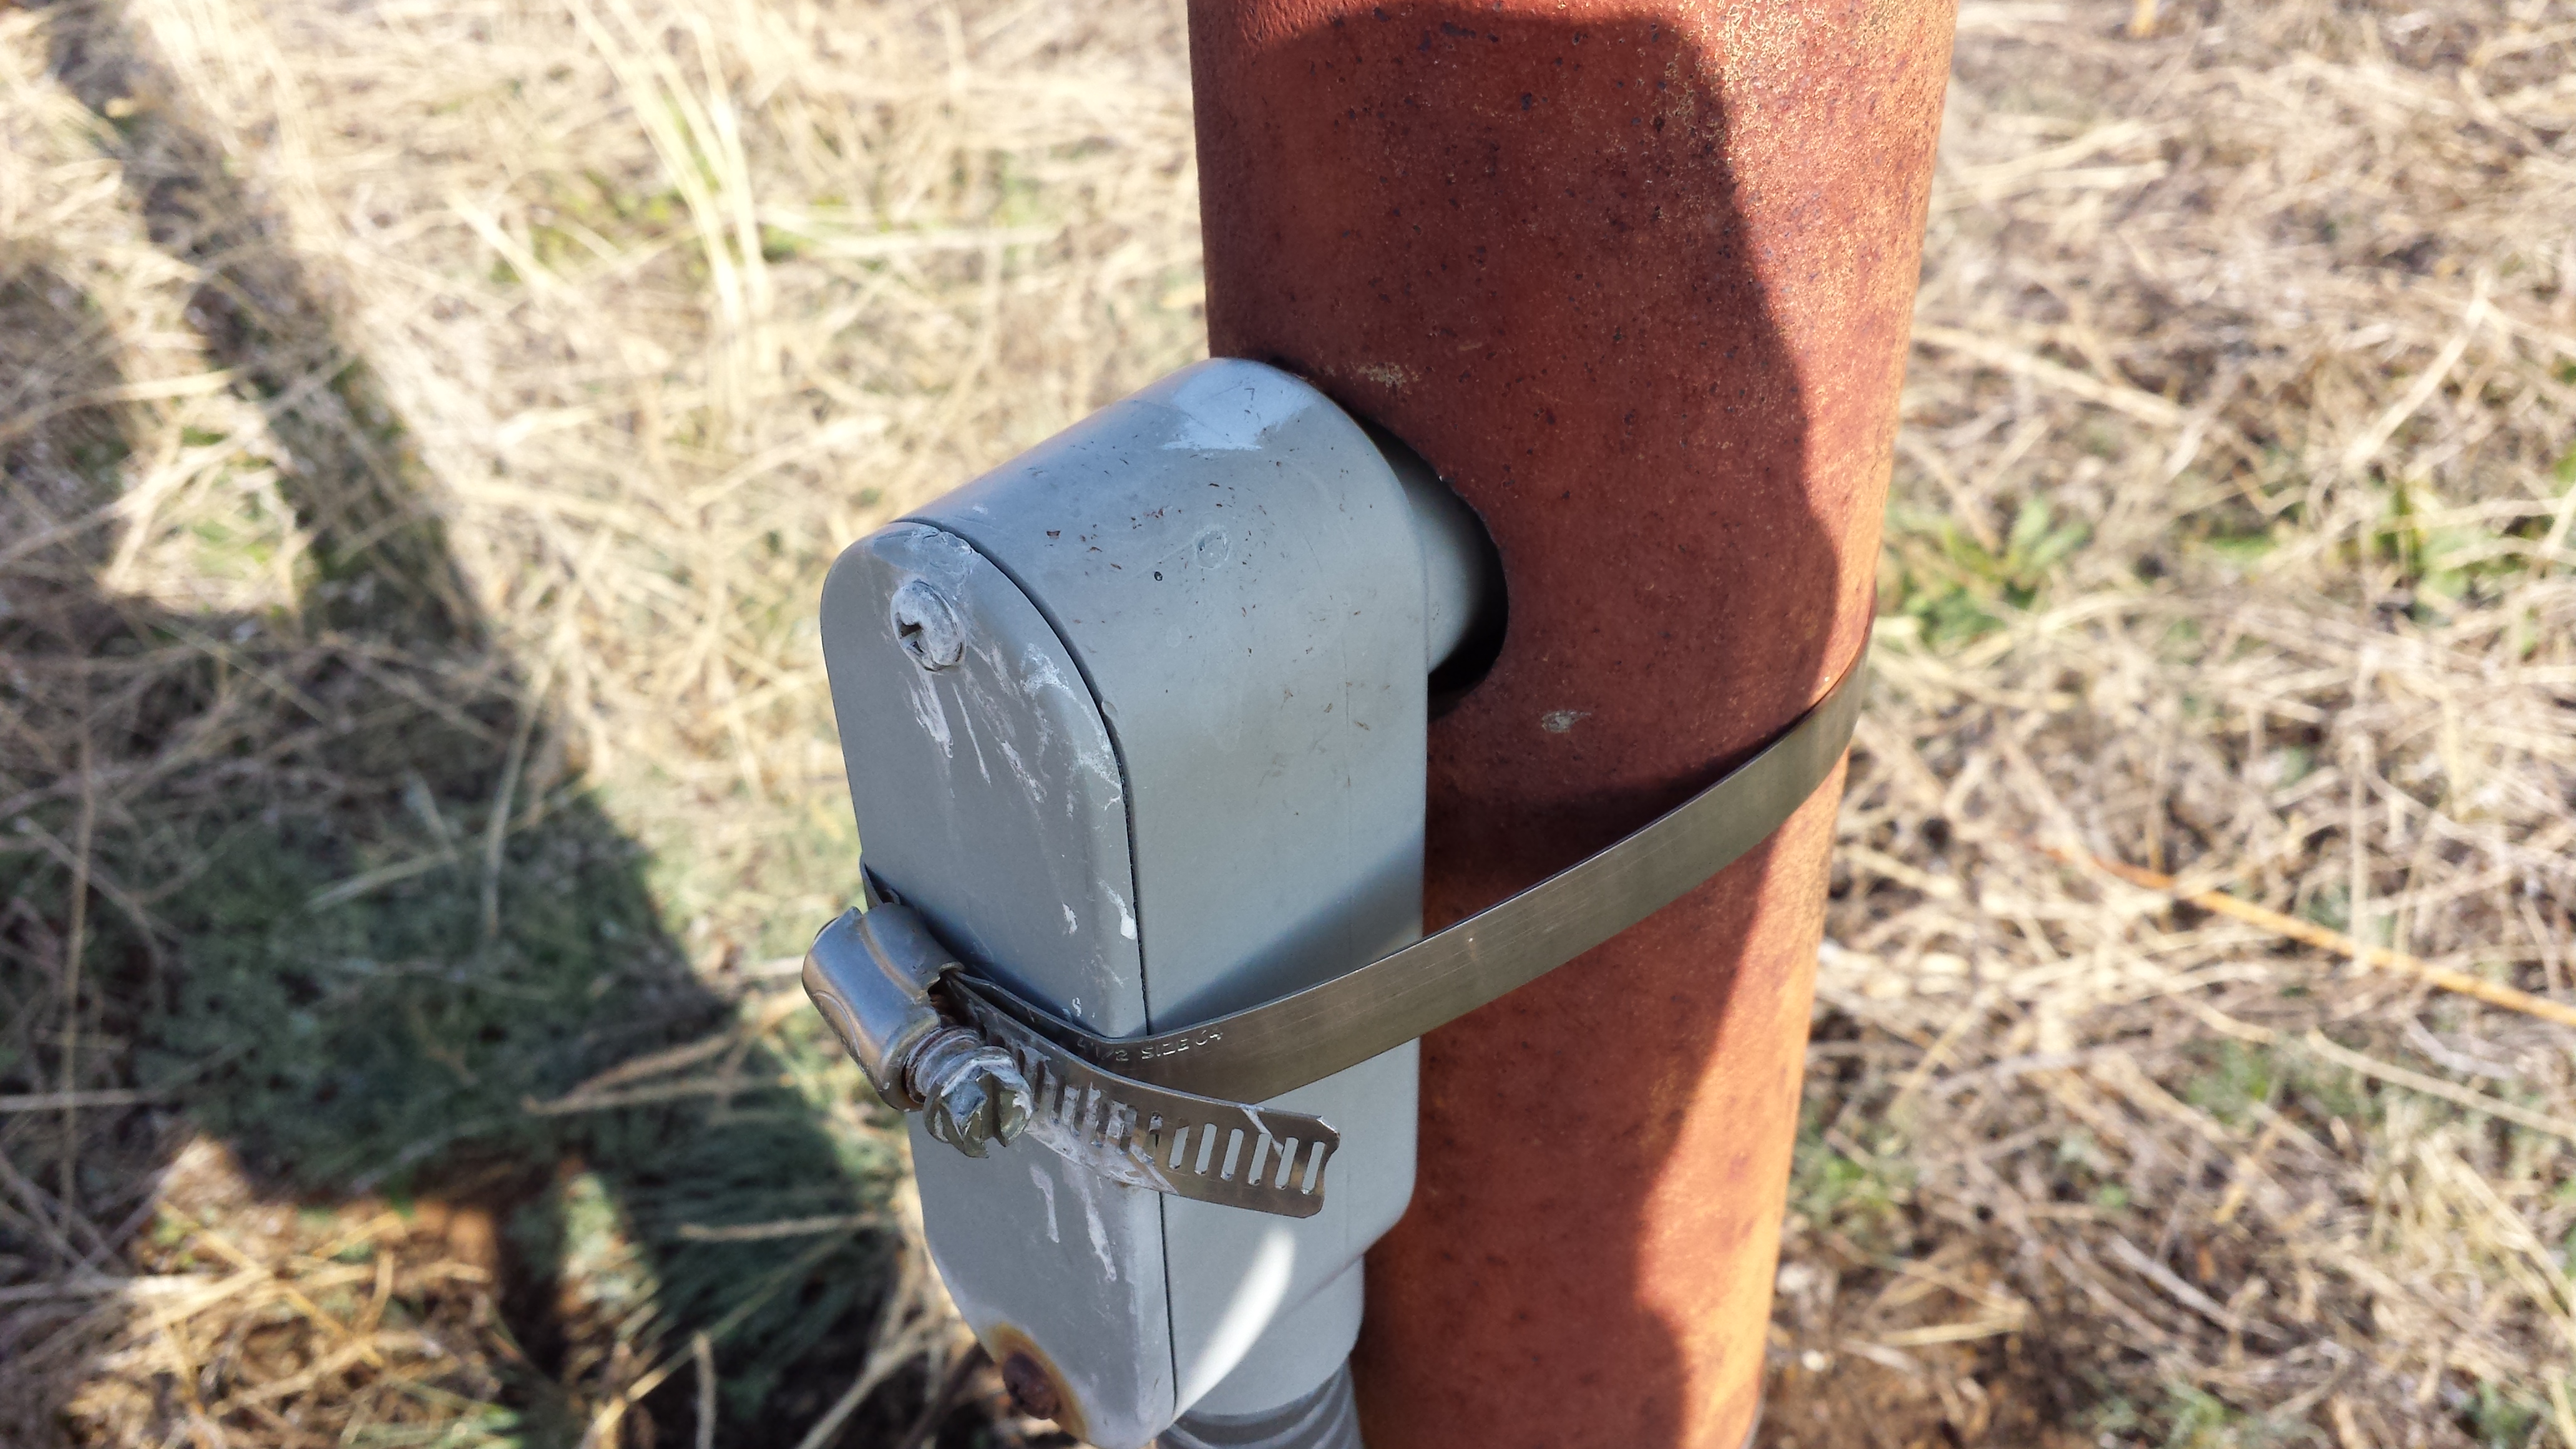
P. 4 square / deep box for making electrical connection at the tower base.
Q. Liquid tight exterior flexible conduit to transition from the rigid underground pipe to the 4 square box at the tower base.
R. Conduit clamp to attach the liquid tight to the tower to protect the flexible conduit from being pulled out of the connection box.
S. Schedule 40 PVC electrical conduit to take the wire underground from the tower to wherever you install the charge controller.
T. Couplings and PVC glue. PVC elbows if needed (these are long sweep elbows just for electrical work – makes the wire easier to pull through).
U. Enough electrical wire to reach from the tower base to wherever you mount the charge controller with enough extra to get to your battery bank. You will want to make sure you talk with an electrician about the proper wire size to account for voltage losses, he or she will know how to do this, if not – find someone else.
V. Concrete for piers
W. Rebar for the piers, and rebar loops for the cables to attach to.
X. Primer
Y. Paint
Z. Patience (just wanted to complete the alphabet).
As I look back over the list, it sure seems like a lot of parts and it is but what you will have when you’re done is a tower that will stand the test of time. Like I said earlier, ours has been up for 12 years now and has worked perfectly. There are other methods and materials you can use for sure, this is just what we used for our tower.
Note: It is a good idea to lower your tower every year to inspect the turbine, welds, clamps etc.
If you decide to build your own just make sure you allow yourself enough time to actually enjoy the project.
The satisfaction of a job well done
that you did yourself
will be there every time you look out the window!